
Bee Outdoors Festival at Banshee Reeks
Everyone is invited to the Bee Outdoors Festival at Banshee Reeks!
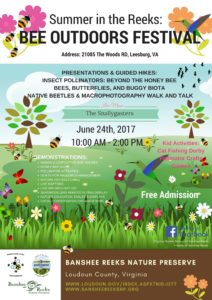
Click here for a Google Map to get directions.
Everyone is invited to the Bee Outdoors Festival at Banshee Reeks!
Click here for a Google Map to get directions.
Part 2a – Raising Bees
By Liz Dennison
 Bees exist in the wild without assistance from beekeepers. As beekeepers, we provide a healthy environment, food and water when necessary, and protection from pests and predators, so that our bees can produce the honey and beeswax they need to thrive. The mission of the first year beekeeper, or the keeper of any new hive, is to grow bees. A new hive needs to produce enough bees and honey stores to survive its first winter. That means the hive must contain a basketball size cluster of bees and about 90 pounds of honey. The size of the cluster is essential to maintaining the required temperature of 93 degrees at the center when the queen begins laying eggs in midwinter. If there aren’t enough bees or enough food, the colony won’t survive. Honey stores are important as the bees’ primary energy source but beekeepers can provide supplemental food if the stores are inadequate. This year, we’re in the business of raising bees. If we’re lucky, we’ll harvest some honey next year.

Queen bee with blue mark
Several days after installing the bees in the hives, we inspected them to make sure the queen was present and laying and the bees were drawing comb on the foundation. When we purchased our package and nuc we requested marked queens. A marked queen has a small brightly colored dot on her back making her much easier to find among thousands of busy bees. One of our hives has a queen with a bright pink dot and the other with a turquoise blue dot. We usually inspected our hives in the middle of the day when many bees are out foraging. On the first inspection of each hive, we removed the top and inner cover of the brood box and then each frame, one at a time. We were able to find the queen in both hives and see that she was laying and the colony was drawing comb on the frames. All was well.
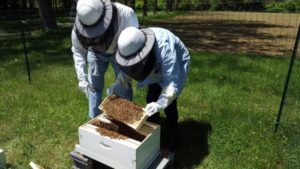
Inspecting a frame
What I found most interesting is that we can open the hives, pull individual frames, even remove an entire box and the bees pay no attention. They continue their work almost as if we’re not there. We’ve never had to use our smoker and prefer not to use it. It’s said that smoke calms the bees but the reality is that the bees perceive the smoke as a forest fire and focus on consuming their honey stores so they can carry it with them to safety. While there may be situations where smoke would be helpful, it seems counterproductive and unnecessary for routine hive care.
As the bees were able to find enough nectar and pollen, we discontinued the feeding we started earlier in the spring and removed the Boardman feeder. After several weeks, the bees nearly filled the original brood box so we added a second box to each hive. In late July, the second boxes were full with brood in the center and honey stores at the edges so we added a third box to each hive. Although we continued to inspect the hives every week, we no longer examined every frame or worried about finding the queen each time. If we saw active bees around the hive and drawn comb, brood cells and honey stores where they should be after sampling a few frames, we were confident that all was well. No need to disturb the hive any further.
We had some hot weather this summer and the bees definitely felt it. On some of the hottest days, the entire front of the hive was covered with bees. Hanging out on the “front porch” is the bees’ way of cooling themselves and the hive. Bees hanging out at the hive entrance are fanning the hive to increase air flow and ventilation. At this point a water source is very important. If there is no nearby water source, water can be provided with a Boardman feeder (a mason jar with small holes in the lid inverted and fitted into a wooden holder at the entrance of the hive). If entrance restrictors are in place to help bees defend the hive against invaders, they should be removed to improve airflow. If the hive has a solid bottom board it should be replaced with a screen bottom. If necessary, shade can be provided with a pop-up awning. Our bees have shade from trees for the hottest part of the afternoon which did seem to help. We certainly appreciated the shade when inspecting the hives because long pants, long sleeves, beekeeping gloves, hats and veils can be uncomfortable on a hot summer afternoon.
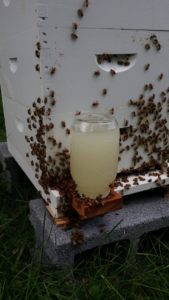
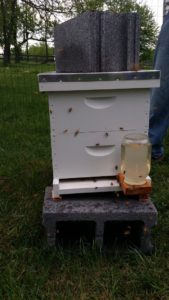
Boardman feeder with syrup
By mid to late July the nectar flow was low and we saw that honey production had decreased so we resumed feeding a one-to-one mixture of sugar water and a small amount of vitamins and essential oils with the Boardman feeder (the same as for providing water but containing an appropriate concentration of syrup) and saw increased honey production in the honey super (third box). This will be the bees’ winter food supply. Some bee keepers don’t use this type of feeder because it can encourage “robbing” by bees from other hives but we haven’t seen any robbing activity so far.
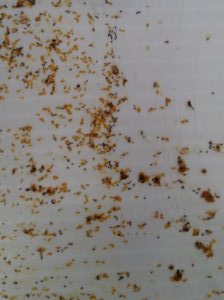
Mite board showing dirt, honey, and other debris but few mites
Around this time, a few local bee keepers reported large numbers of Varroa Mites in their hives. Even though we had treated the hives in the spring, we decided to do a 24 hour mite count on each hive. We waited for a day that would be a little cooler and inserted a foam board coated with Vaseline to make it sticky at the bottom of each hive. The board reduces ventilation in the hive so waiting for a cool day puts less stress on the bees. After 24 hours we removed the boards and counted the number of mites on each. We found only one or two mites so there was no need to treat the hives. Since we’re not harvesting honey this year, we can treat with Apivar which doesn’t harm the bees and is very effective. There are other non-chemical methods of mite control, including sifting powdered sugar into the hives to coat the bees. The sugar causes the bees to groom themselves and remove the mites along with the sugar. While many beekeepers swear by the sugar method, it does require ongoing treatments and should be started before there is a significant mite infestation.
The bees were very active in August and filled the third box on each hive with honey so we added a fourth box to each hive. We also started feeding pollen patties that we make ourselves. We no longer inspected individual frames but simply opened the top of the hive to peek in and see how much comb and honey there was in the upper box and to add the food patties. The hives sounded wonderful, activity around them was energetic with bees flying off and returning loaded with pollen, and there were already good honey stores. We did another mite check and again found only two or three mites so decided to hold off on treatment. All was well at the end of August.
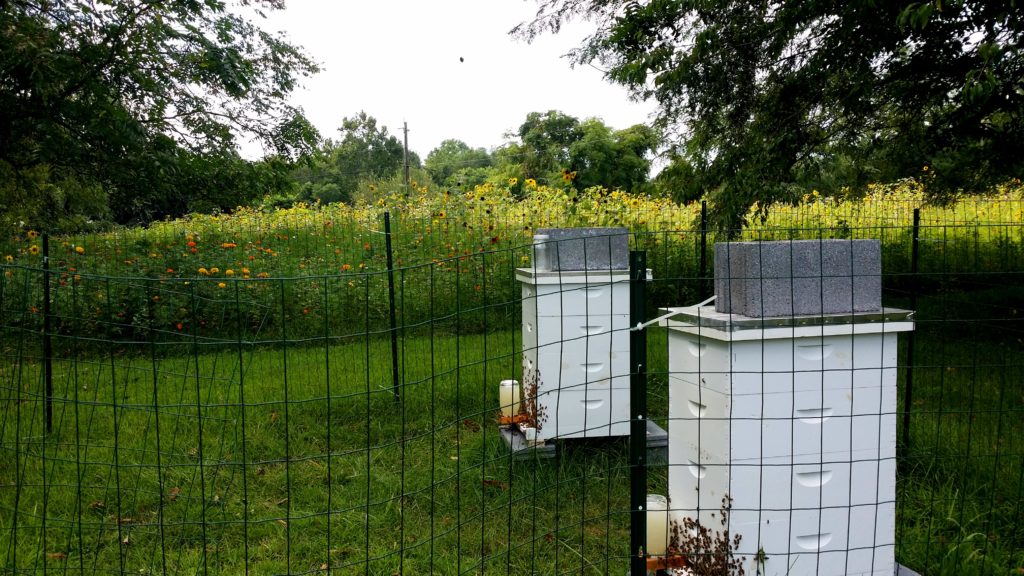
Hives with Meadow in the Background
We made it through the summer with healthy hives. I’ve been fascinated by bee behavior both in and out of the hives. I’ve enjoyed watching them leaving and returning. I can only follow them a short distance before they disappear into the background of our pines. I wish I could follow to see where they forage. We’ve become much more confident in handling the frames and feeders so hive care has become much more fun and less stressful.
Check back soon for Part 3 – Preparing for Winter
Part 2b – Making a Meadow
 I’m sure all Virginia Master Naturalists are aware that pollinators need our help. Loudoun County is one of the fasted growing regions in the country but this growth comes at a price. Much of the farmland, open fields and forests in the eastern part of the county have been overtaken by urban and commercial development that replaces green space with concrete. Even in suburban neighborhoods, native grasses have been replaced by manicured lawns. Native trees and wildflowers have been replaced by exotic varieties. Non-native invasive plants are rampant along roadways and other areas disturbed by development. The result is a landscape that’s inhospitable to our native wildlife, including the pollinators.
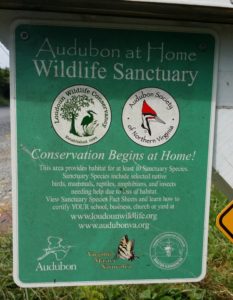
There are several excellent programs that provide education and support for removing invasive plants and replacing them with natives. Soon after we moved to Philomont, we contacted Audubon at Home (http://audubonva.org/audubon-at-home-1/). This wonderful organization brought experienced naturalists to our property to help us identify plant species and make an improvement plan. Although we still have some work to do we met the criteria for certification as a Wildlife Sanctuary. I also completed an online course on Woodland Options for Landowners through the Virginia Tech College of Natural Resources and Environment (http://forestupdate.frec.vt.edu/ ) that helped me better understand how to manage my wooded acres. But, as a beekeeper, I still wanted to do something for pollinators so we decided to create a meadow.
We selected a grassy area of almost 1/3 acre along the road at the entrance to our property. It’s close to the bee hives and gets sun most of the day. There are natural ways to go from grass to meadow gradually over a period of years but we wanted to do it more quickly. We decided to seed the area with native flowers and began investigating sources for the seed. We settled on a bee friendly pollinator mix of annuals and perennials from American Meadows (http://www.americanmeadows.com/ ) but there are many other options depending on your soil type, amount of sun, amount of water, and the type of wildlife you want to attract. The people at American Meadows were very helpful in making recommendations about how much seed we would need and how and when to plant. All seeds from American Meadows are Non-GMO and Neonicotinoid-Free.
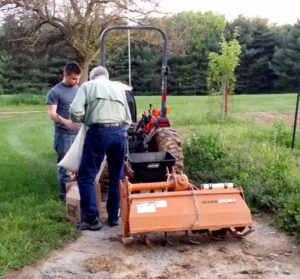
Tiller attached to tractor
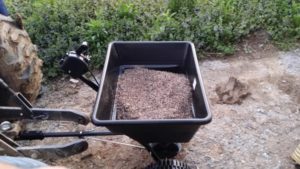
Enough wildflower seed for 1/4 to 1/3 acre
We ordered the seed in March and got to work on preparing the land. We borrowed a tiller attachment for our tractor from our beekeeping mentor. That meant driving our tractor with the attachment on Snickersville Turnpike. Fortunately, we didn’t have to go very far. We used the tiller to turn the soil just a few inches deep. It wasn’t necessary to kill or remove the grass. When the nights were warm enough to be sure there wouldn’t be a frost, we attached a small seed spreader to the tractor and spread the seed as evenly as possible. The spreader was too light to work properly so we enlisted our son to sit on it for extra weight. After seeding, we drove the tractor over the area to push the seed into the soil. Then we waited.
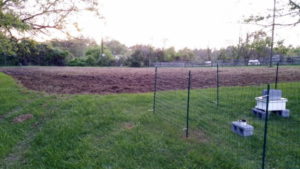
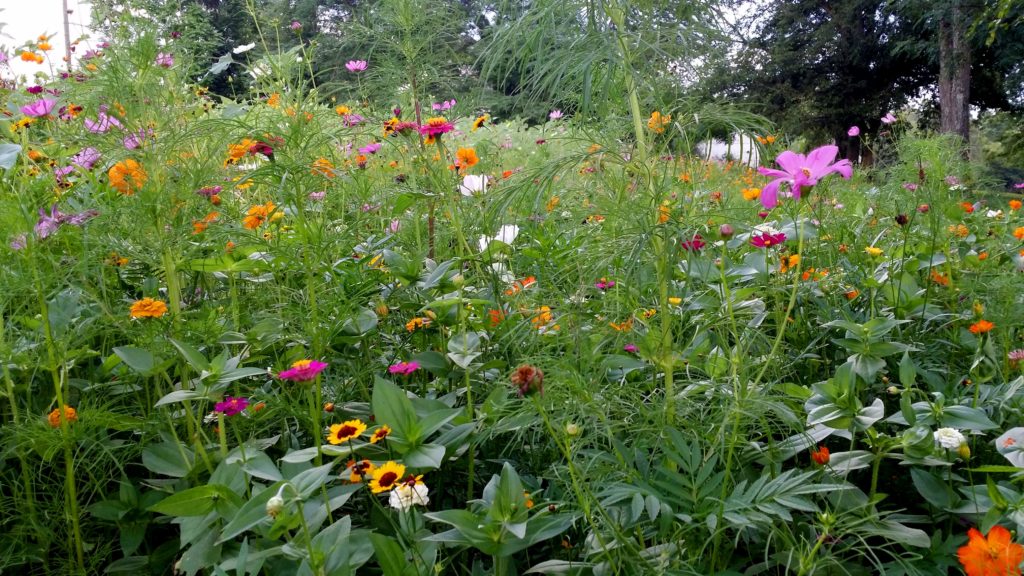
Meadow immediately after seeding
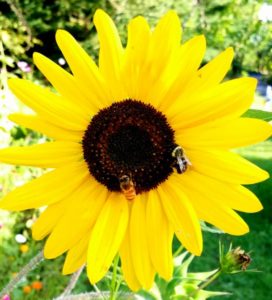
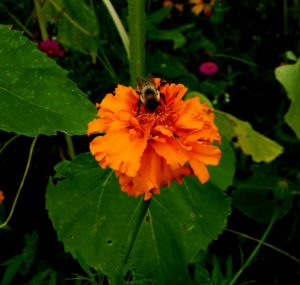
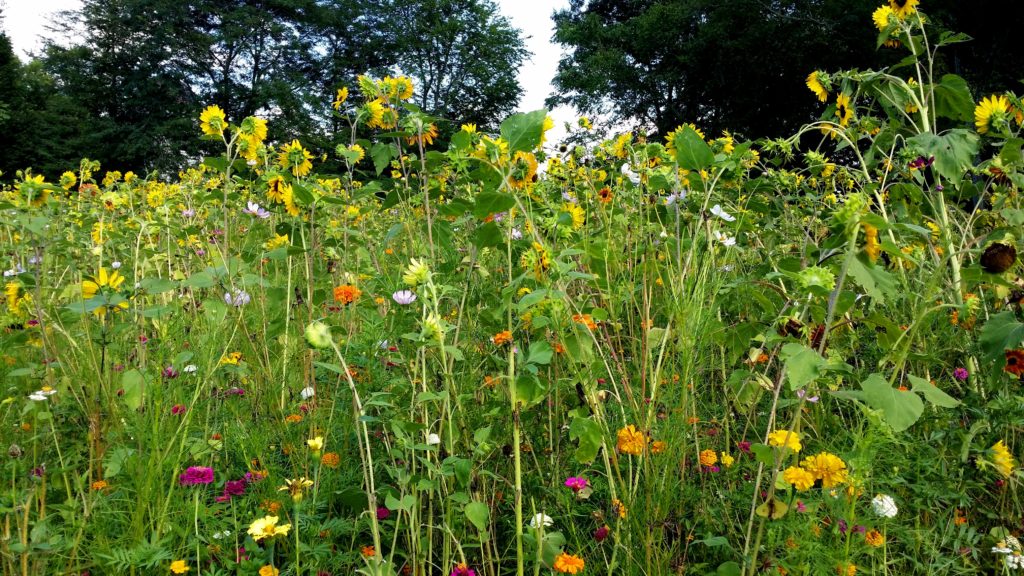
I was worried that birds would eat all the seed. I was worried that invasive species would take over in the disturbed earth before the seeds had a chance to germinate. I was worried that the grass would overwhelm the flowers. None of that happened. After a few weeks we started to see little seedlings popping up everywhere and growing quickly. The result has been a beautiful and ever-changing display, from tiny white flowers in the spring to magnificent sunflowers in August. This little 1/3 of an acre is buzzing with bees (not always our bees), butterflies and, a surprise to me, dozens of goldfinches. We’ve had lots of compliments from our neighbors. Some have even stopped to take pictures, one neighbor brings her children every few days to pick flowers, and a few high school students used it as the backdrop for their senior pictures.
This was easy to do and maintenance free – no watering or regular mowing. It supports our wildlife and is beautiful to look at. Next year we’ll expand this meadow a bit and do the same in some of the shady areas. The people who owned this property before us called a small, secluded, clearing in the pines “The Secret Garden”. By next summer, “The Secret Garden” will be full of flowers.
By Liz Dennison

Queen Bee with Blue Mark
When my husband and I moved to Philomont, we knew we wanted to do something useful with our property. We considered raising goats that could be leased to clear brush but the cost and effort of fencing, shelter, food, transportation and veterinary care were more than we wanted to take on. We considered raising chickens but most of our neighbors have chickens. The supply of eggs exceeds the demand and I think our two big dogs might like the chickens a little too much. So we considered raising honey bees.
We knew that pollinators need our support and that pollinators in turn support our local gardens, farms, vineyards, and orchards. We also knew that keeping two hives would allow us to put our 10 acres in land use and save on property taxes. We could sell our honey and look into other products like beeswax candles. But we didn’t know anything about keeping bees. To get started we joined the Loudoun Beekeepers Association. This wonderful organization holds monthly meetings on a wide variety of interesting topics from environmental concerns to how to keep bees in an urban setting. The meetings are also a great way to meet other beekeepers and share information.
The next step was to take the beekeeping class offered by the association each year beginning in late February. The class meets once a week for 8 weeks and covers everything a new beekeeper needs to get started. We learned about bee biology, colony activities, managing the hives throughout the seasons, pathogens, parasites, and pests, hive products and beekeeping equipment. We weren’t experts after the class but we had the basics and access to the club’s resources. Best of all, we were assigned an experienced beekeeper as our mentor.
Along with the class, the club brought local beekeepers together to demonstrate beekeeping equipment. This hands-on opportunity helped us choose the equipment options that were right for us. It was also a chance to talk with beekeepers about their successes, failures, and lessons learned. I left the event with one valuable insight. Regardless of the equipment, placement of the hives, or beekeeping philosophy, sometimes “Bees are gonna do what bees are gonna do”. I’ve heard this phrase over and over from experienced beekeepers. Often a hive will succeed or fail in spite of what we do to support it or any mistakes we make. The bees themselves are best at managing the colony. Sometimes it’s best to leave them alone to do what bees do.
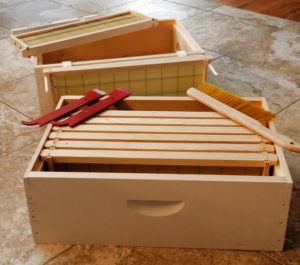
Hive Body with Frames and Tools
There are many options for the hives, accessories and protective clothing. The hive boxes can be homemade, built from kits, purchased complete but unpainted, or purchased complete and ready for setup. For convenience, we ordered the latter. Hive boxes come in various depths (deep, medium or shallow) and widths (8 or 10 frames). All have pros and cons. For us, weight was the deciding factor. A deep frame with honey weighs 10 pounds, so a 10 frame super (box with 10 frames) would weigh 100 pounds! That’s more than I can lift easily when inspecting the hive so we decided on medium boxes with 8 frames. There are just as many options for protective clothing. The helmet, veil and gloves are essential so we bought a set for each of us. We’re comfortable wearing our own light colored, loose fitting clothing around the bees but if you’re very sensitive to bee stings or uneasy around the bees, you can choose from a wide assortment of jackets and coveralls that provide excellent protection.
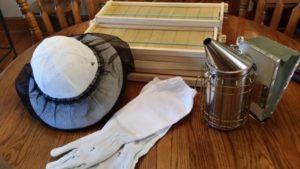
Protective Clothing & Smoker
The training ends at about the time new beekeepers receive their bees so we worked backward from that date to be sure we would have the hives and all accessories in place and ready. We decided we would start with two hives to improve our chance of success and qualify to put our property in land use. We ordered enough hive equipment to build 3 complete hives. The extra equipment could be used if we had the opportunity to capture a wild swarm or to split one of our hives if necessary.
In March, for each of the 3 hives we ordered:
We also ordered some accessories and protective clothing:
Our total equipment cost for this first year was about $800. Costs can be reduced by building or painting the hives yourself. But this doesn’t include any equipment for harvesting, storing or selling honey because the goal of the first year of any bee colony is simply to grow bees.

Hives in Fenced Area
Once everything was ordered, we had to pick a location for the hives. The site should be fairly level and sheltered from strong winds (i.e. not on a hilltop). There should be a water source nearby (we have a small creek) and some shade during the hottest part of the summer days is helpful. We visited our mentor’s hives to see an example of a good site and he helped us select a place along our driveway that was good for the bees and convenient for keeping an eye on the hives. We installed the hives and found that the ground wasn’t quite as level as it appeared but some shimming fixed that. We installed a coated wire mesh fence to form a 12 by 12-foot area around the hives to keep pests (both four legged and two legged) away from the hives. We were ready for our bees.
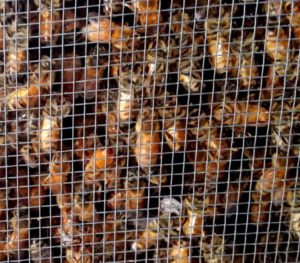
Honeybees in a “Package”
Beekeepers get bees in three ways, packages, nucs, and capture of wild swarms. Since capture of wild swarms is unpredictable, new beekeepers order packages or nucs. A package is simply a screened box containing 5 pounds of bees and a newly mated queen in her own cage that are released into a new hive. It also contains sugar water to feed the bees on their journey. A nucleus, usually called a nuc, is a small established colony of bees, already on frames that are inserted into the center of the brood box for the new hive. To learn as much as we could, we ordered one of each through the club.
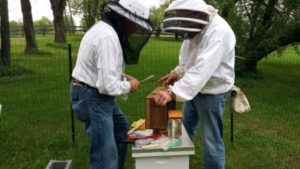
Opening Package of Bees
The package arrived first and our mentor helped us move the bees into our hive. It was actually very easy. The bees moved right in and made themselves at home. When the nuc arrived several weeks later, we put the frames into the hive and those bees settled in as well. To give them a good start, we used a Boardman feeder to provide sugar water to both hives and treated them with Apivar to avoid an infestation of Varroa Mites, a common cause of hive failure. With the bees safely in their hives, we were officially beekeepers.
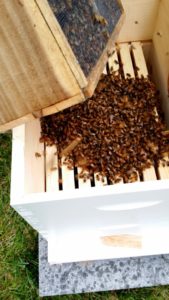
Releasing Bees into Hive
Bees in Hive with Feeder
Check back soon for Part 2 – Raising Bees
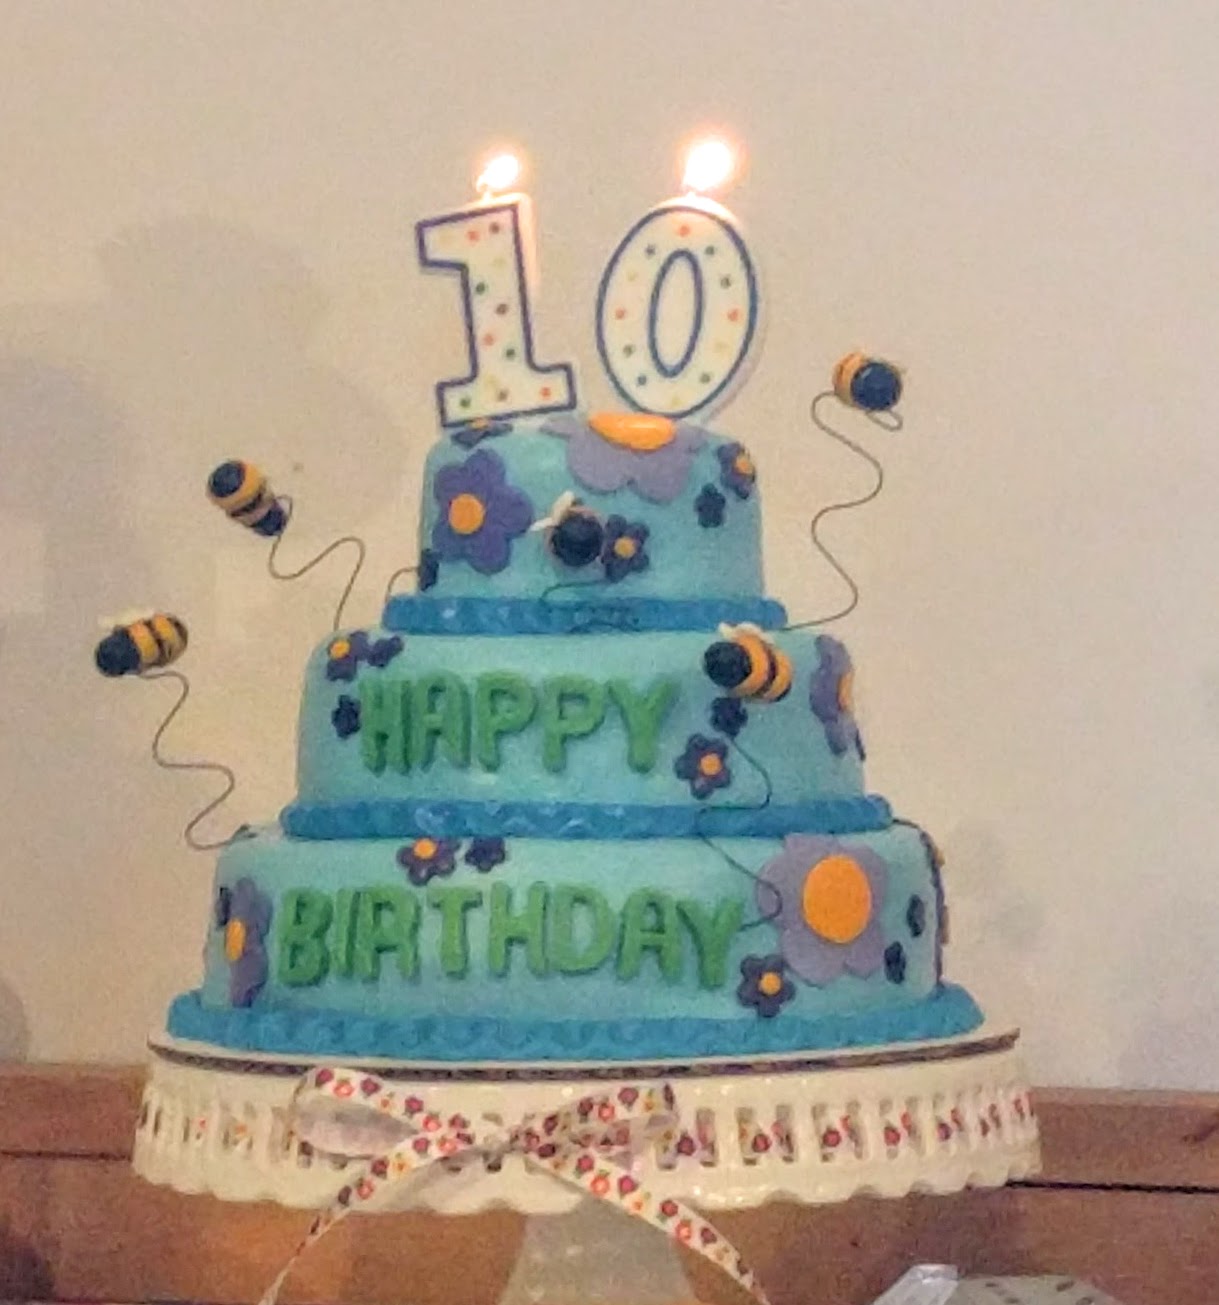
On August 14, 2016, VMN Banshee Reeks chapter held its annual picnic. This picnic was special because it was the 10th anniversary of the program.
![]()
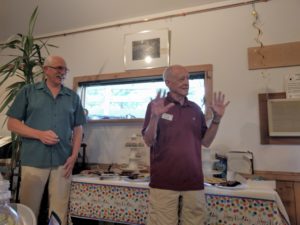
Frank cut the birthday cake with chapter president Brian looking on.
We also held a raffle giving away lots of fantastic prizes from bluebird boxes to native plants, books of all kinds and even homemade items from Ron.
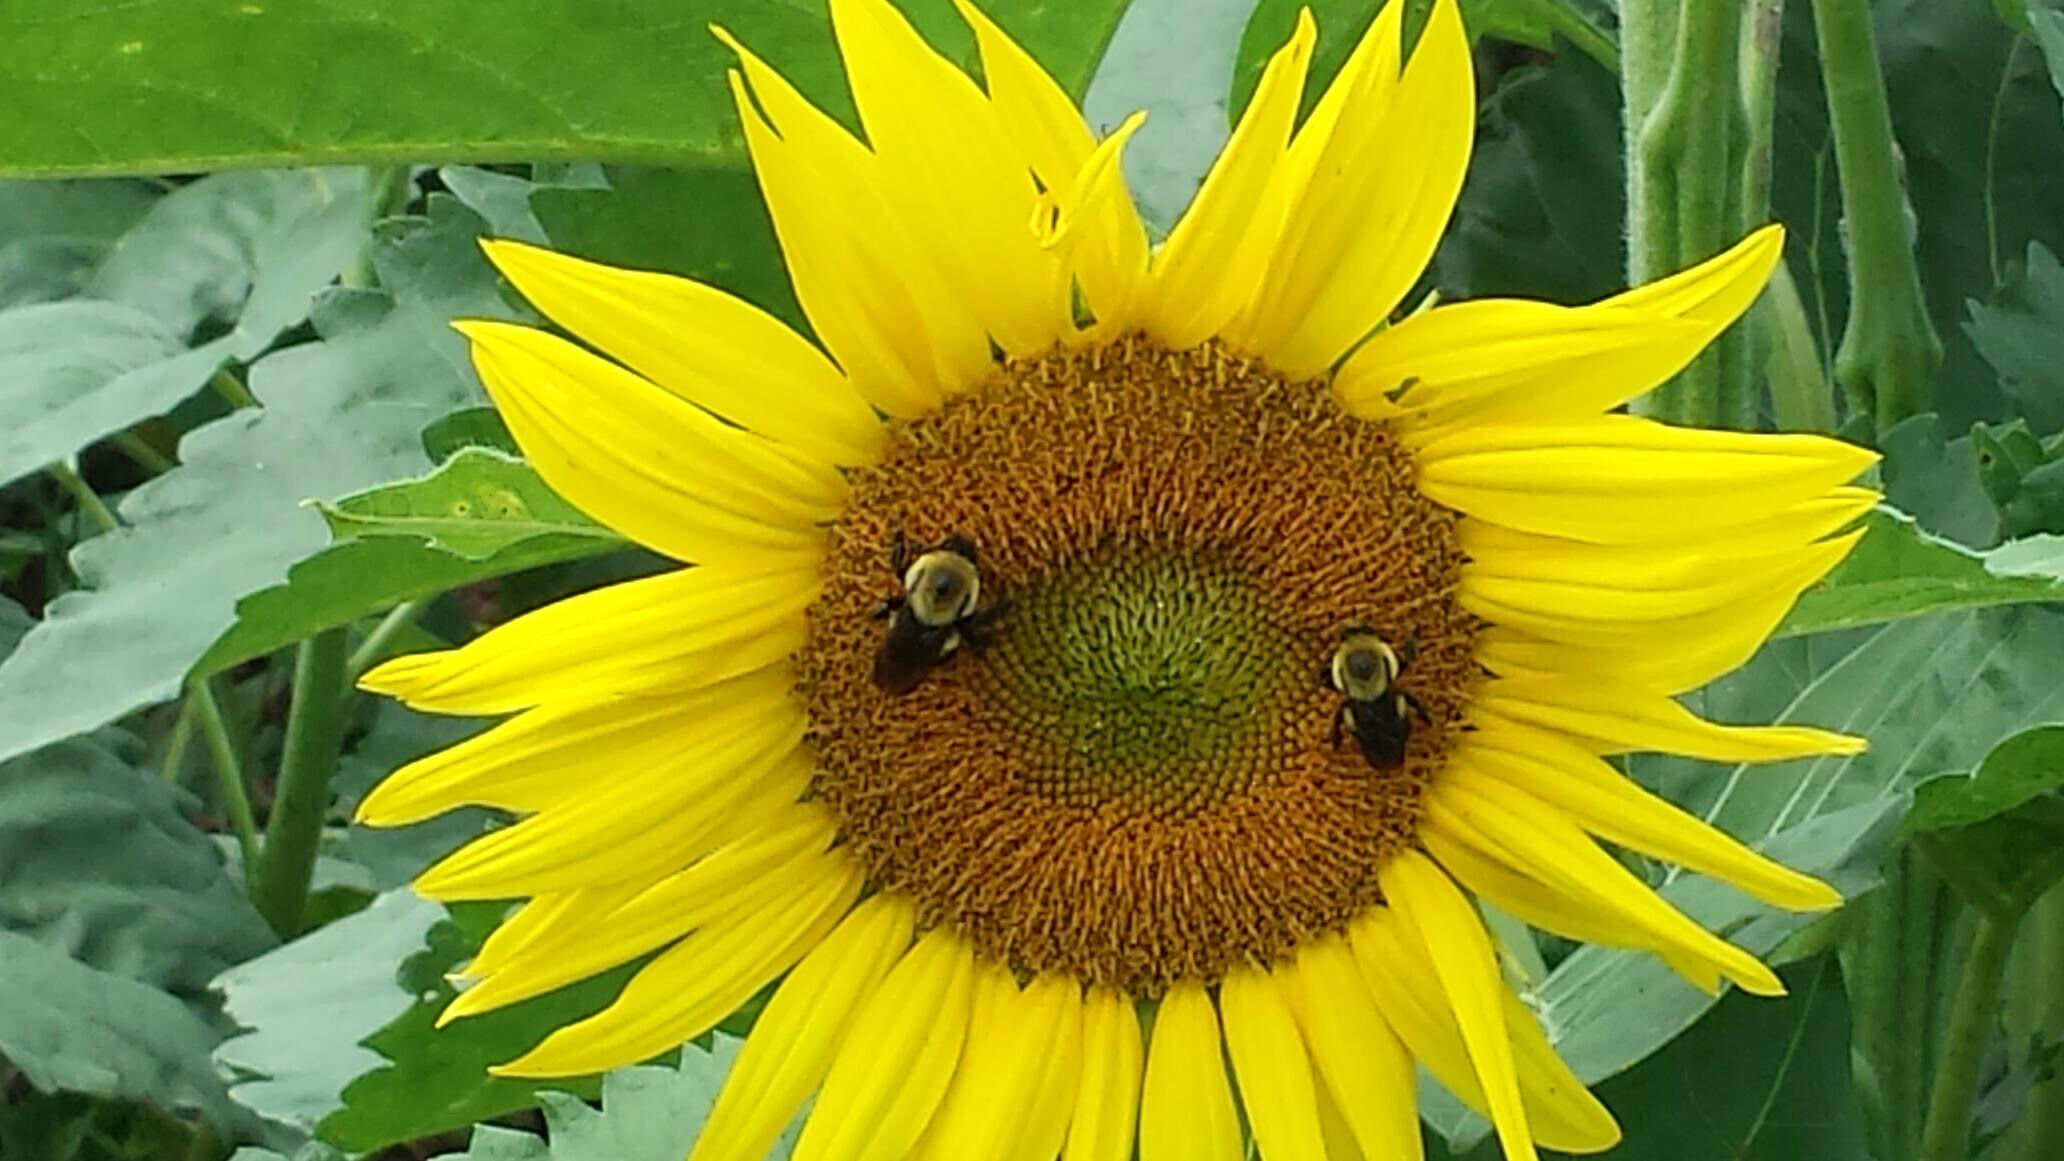
One of our favorite places to visit in the middle of the summer is actually in Montgomery County, Maryland. Just across the river, near Poolesville, is McKee Beshers WMA. They have a wonderful set of fields of Sunflowers that they plant every year and we try and schedule a trip up to visit them in peak bloom. This year, the expected peak bloom time is early to mid July.
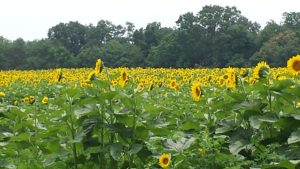
The habitat with the sunflowers is mostly open field, but surrounded by woods and close to the Potomac River, so it can be a good place for a variety of wildlife. American Goldfinches are abundant and chowing down on all the sunflower seeds. When we go, we typically see a good selections of butterflies. Along with the Eastern Tiger Swallowtails (Papilio glaucus), Zebra Swallowtails (Eurytides marcellus) and various skippers, we almost always encounter one of my favorite butterflies, the Hackberry Emperor (Asterocampa celtis). It comes across as a particular social butterfly because it often lands on people. They land on people to drink the sweat for its minerals. You’ll also seem them landing frequently on the ground for minerals from pools of water and from dung.
While in the Poolesville area, two other great places to visit are the Hughes Road Polo fields and Violettes Lock. The Polo fields are a common place to spot birds that love fields. The fields themselves are private, but the road is public and you’ll often see birders out there looking for the most recent rarity. Over the winter (in February), a Lark Sparrow (Chondestes grammacus) was visiting for several weeks. More recently a Dickcissel has been the bird to see. While visiting recently, we also saw Indigo Buntings, Grasshopper Sparrows, Eastern Kingbirds and Bald Eagle.
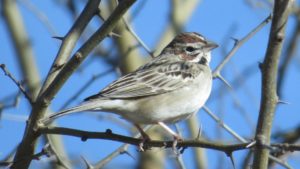
Lark Sparrow
Violette’s Lock is one of several locks along the C & O Canal’s towpath. Because of its accessibility, it is a favorite with hikers, bikers and birders. The most recent uncommon bird spotted along the path is a singing Kentucky Warbler (Geothlypis formosa). While visiting to see the Kentucky Warbler recently, we saw several natural delights, including a dragonfly dogfight, a Great Blue Heron close flyby, several turtles, a Green Snake, and a baby Prothonatory Warbler (Protonotaria citrea) being fed by its parent.
To get to these lovely places in Montgomery county, we typically take 15 North to White’s Ferry and take the ferry across the river. We’ll take White’s Ferry Road (which turns into Fisher Ave) into Poolesville and then turn right on Budd Rd which ends into Hughes Road. The polo fields will be on your right on Hughes Road. To get to McKee Besher, follow Hughes Road down to River Road and turn left; there will be a parking lot on your right. To get to Violette’s Lock from McKee Besher, follow River Road further east until you take a right on Violette’s Lock Road.